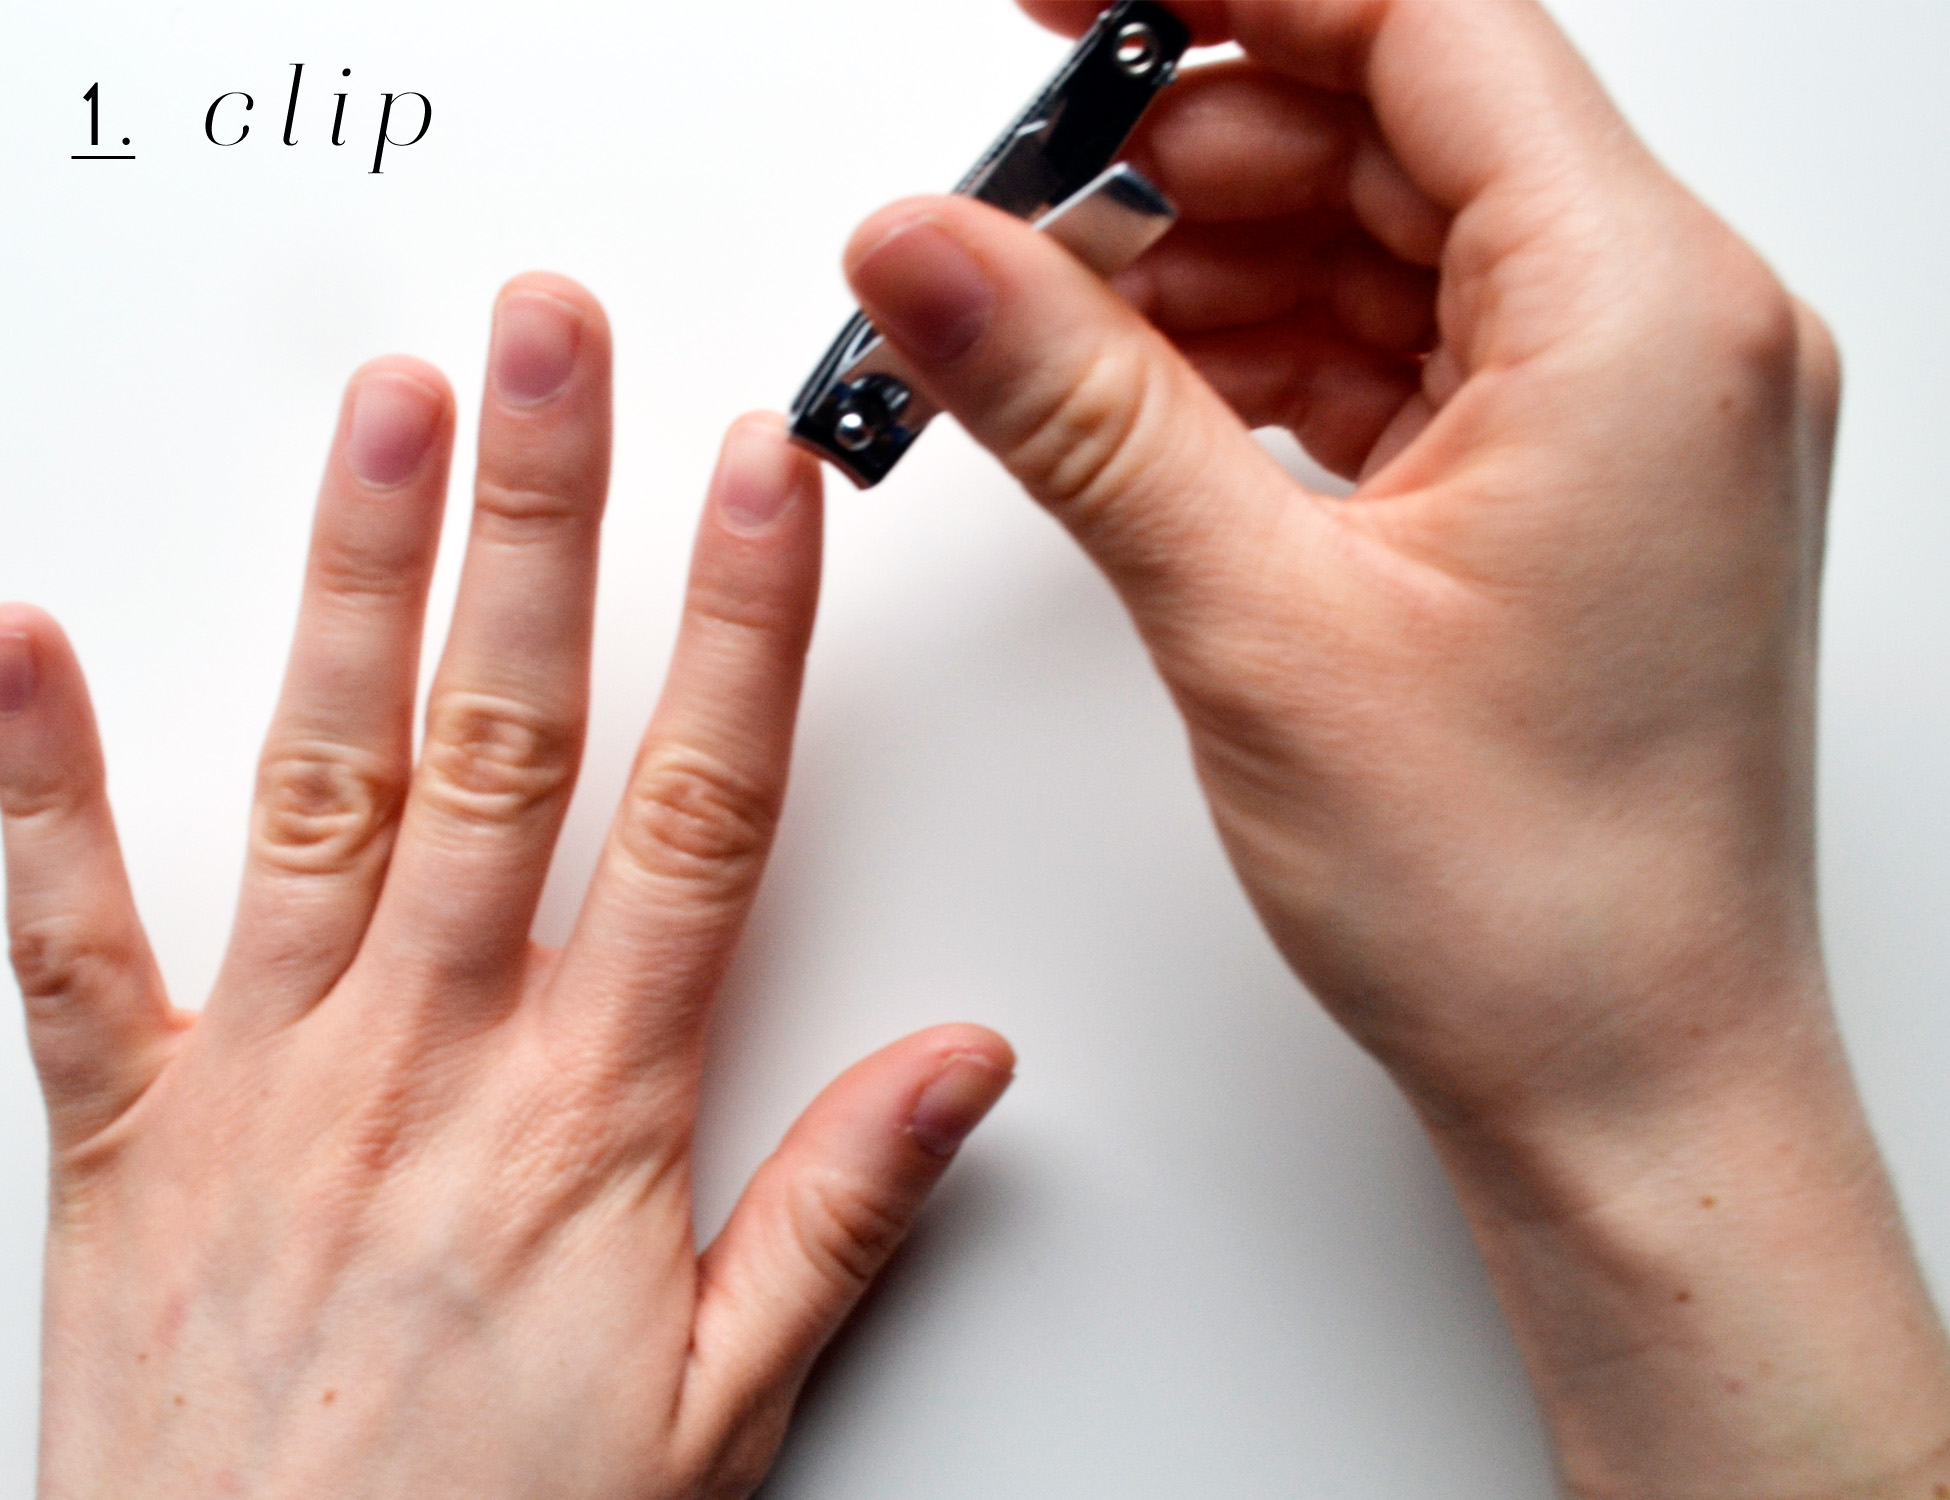
STEP 1: CLIP
The first step is clipping your nails. Even if you prefer a longer nail, I suggest clipping a little bit off just to start fresh. I always like to start off with freshly cut, shorter nails. But don’t go too short, or your fingertips will be sore the next day! I like to sculpt the shape I want my nails with a nail clipper so that they’re easier to file.
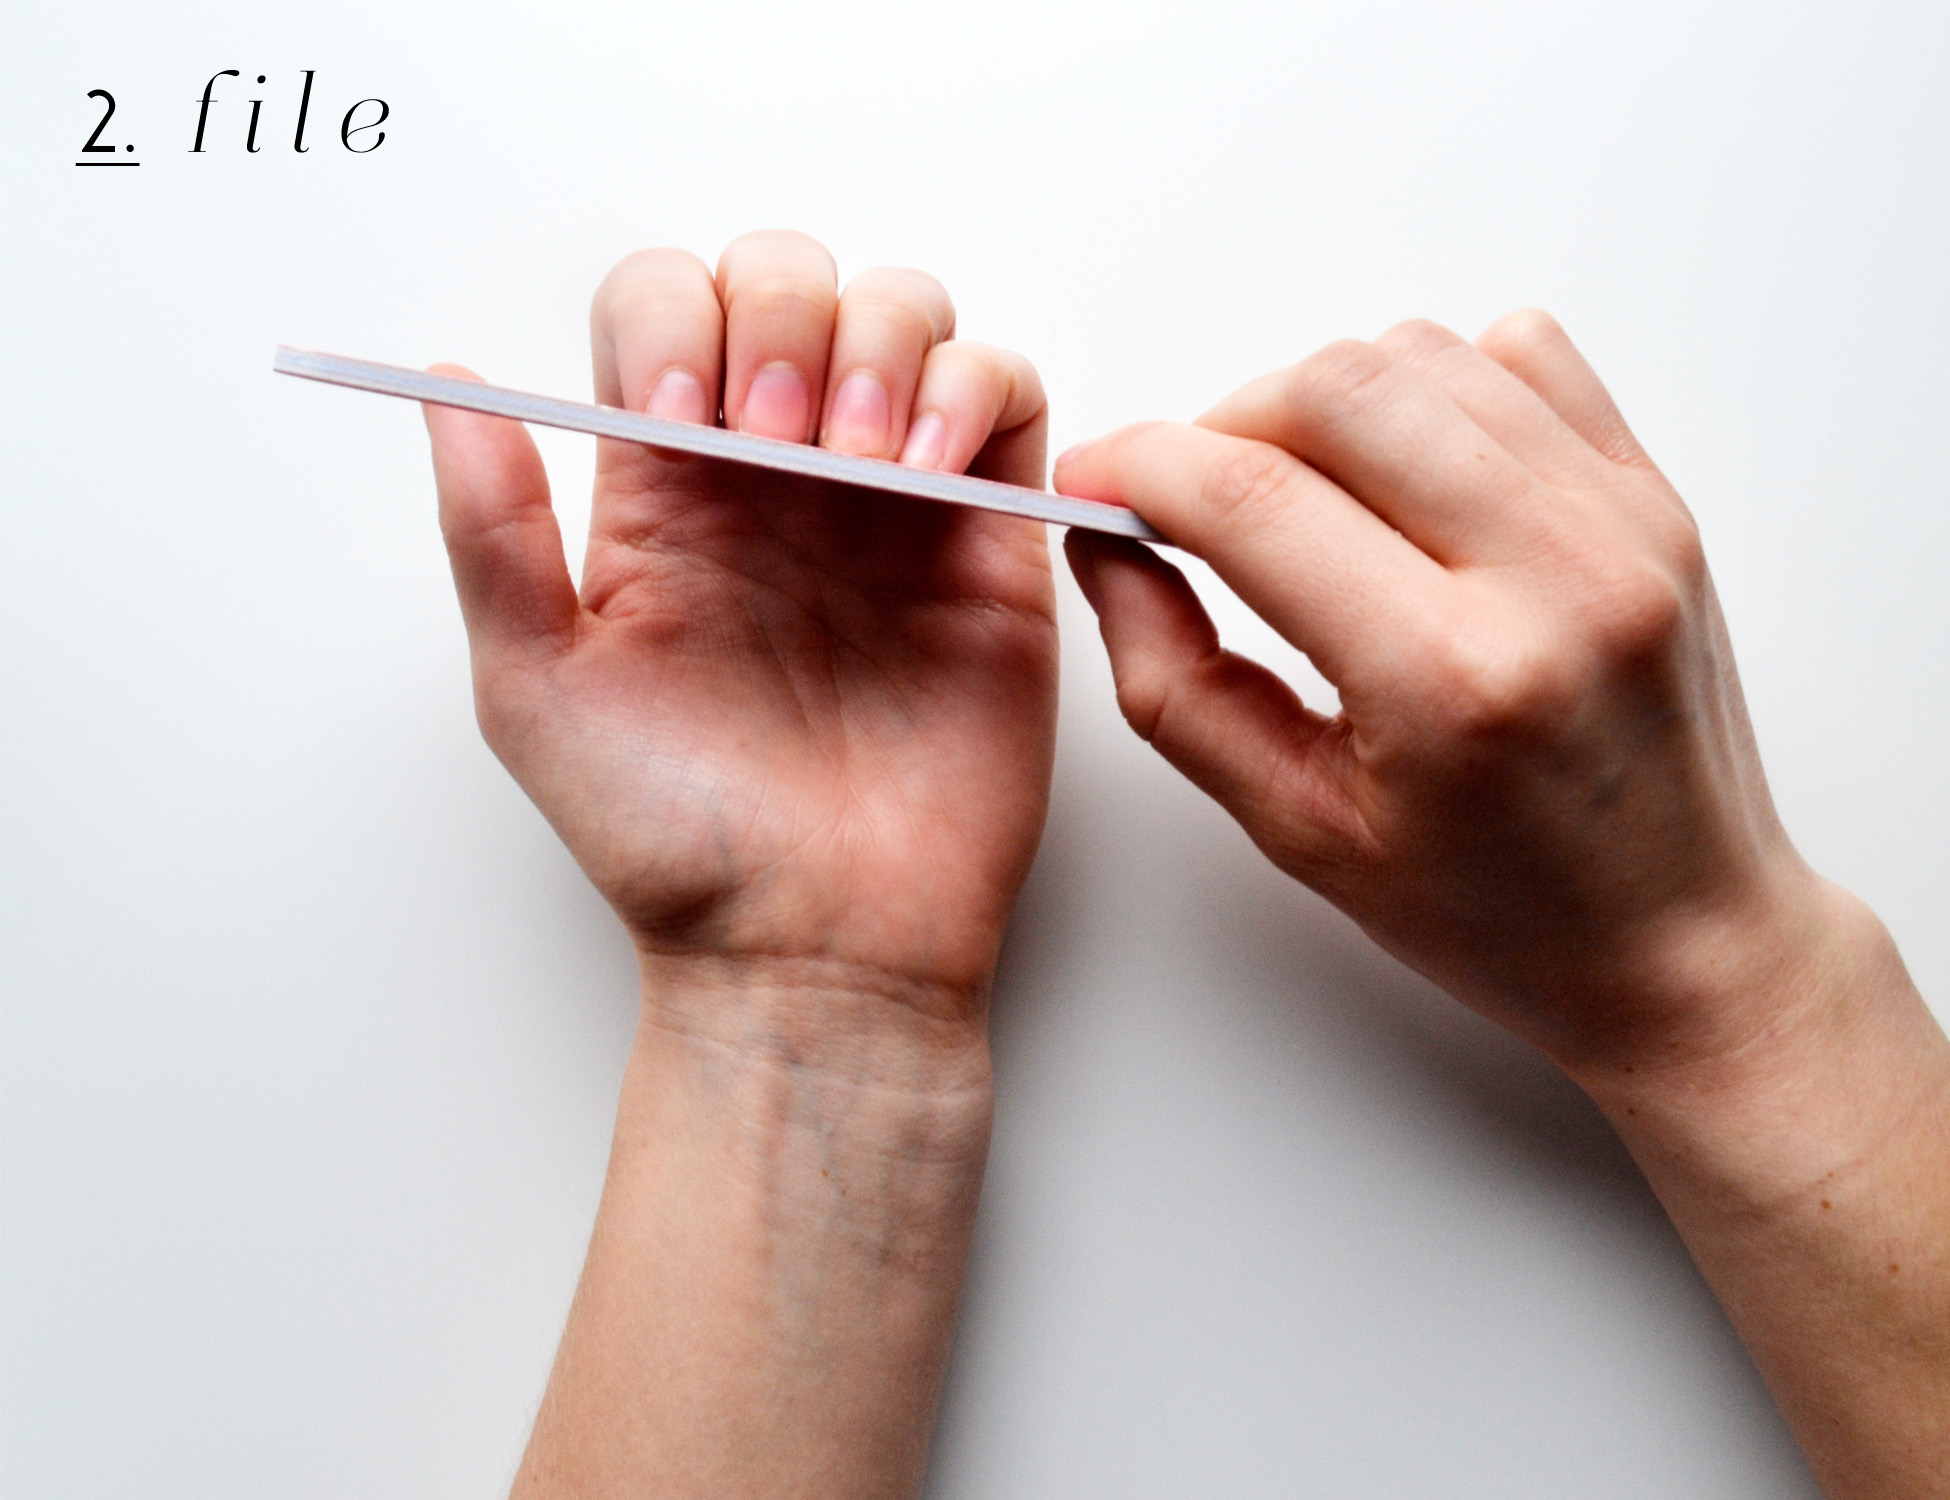
STEP 2: FILE
Using a nail file, shape your nails and even out any jagged edges. Don’t go crazy with the nail file, as it will damage your nails. Try to file in the same direction to keep your nails as strong as possible! I usually go for a square nail but then try to round the edges so that they’re not too sharp!
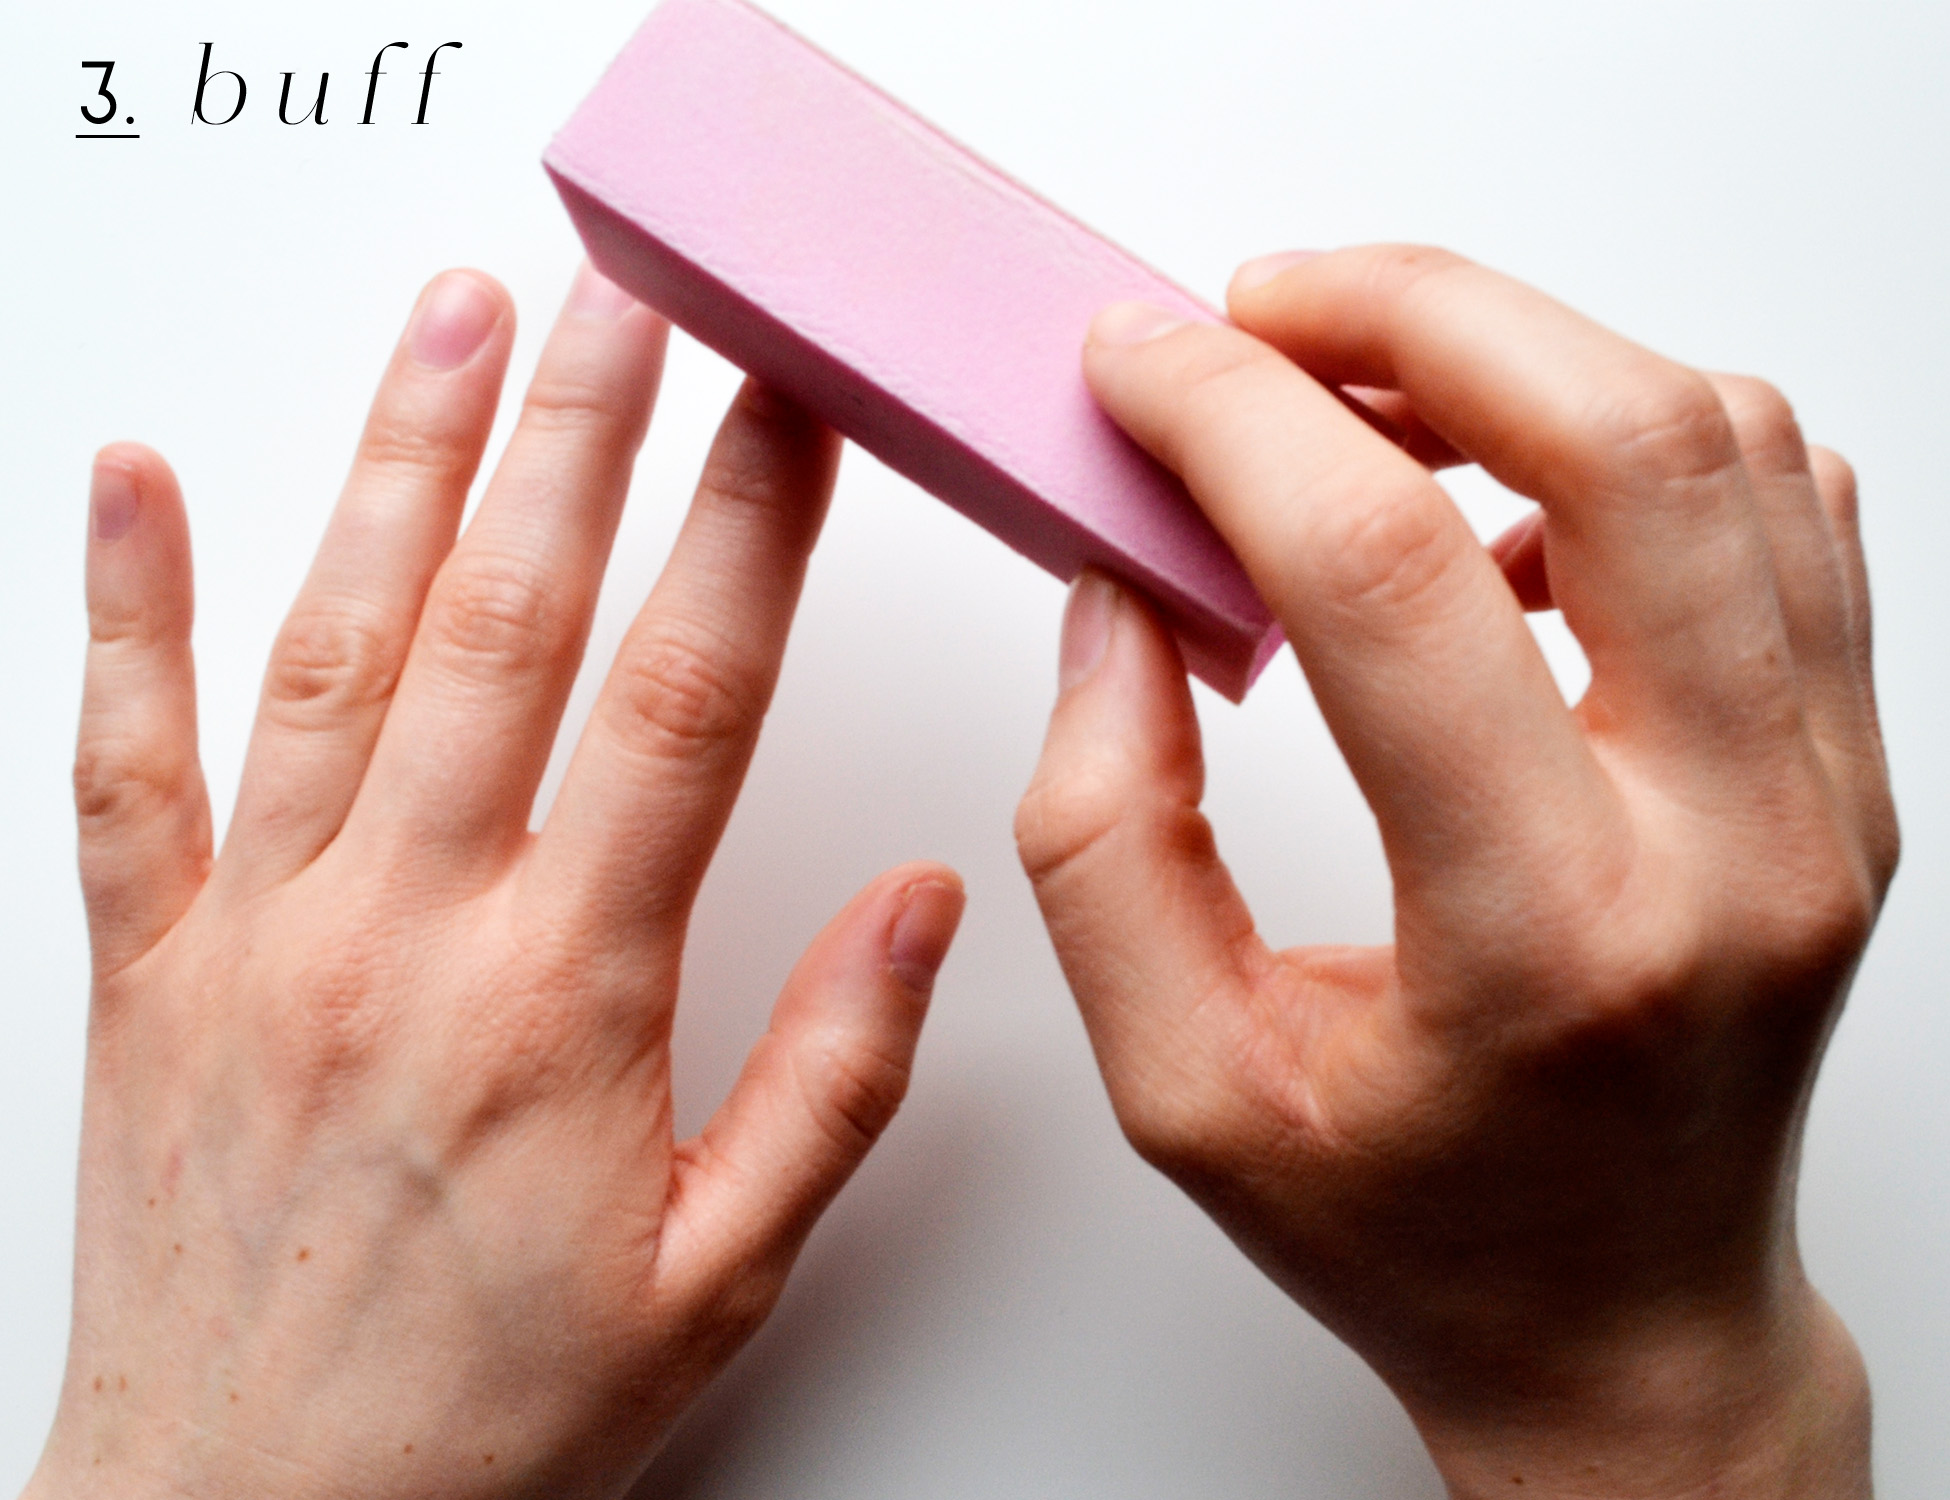
STEP 3: BUFF
This will smooth out the surface of the nail and also make the polish go on a lot easier. But again, don’t go crazy buffing!
STEP 4: SOAK
Now that the prep is complete, it’s time to relax! Grab a bowl and fill it with warm water and a little bit of soap. Soak your nails for a few minutes (3-5 – or longer if you want to relax)! The goal is to soften your cuticles so that you can push them back!

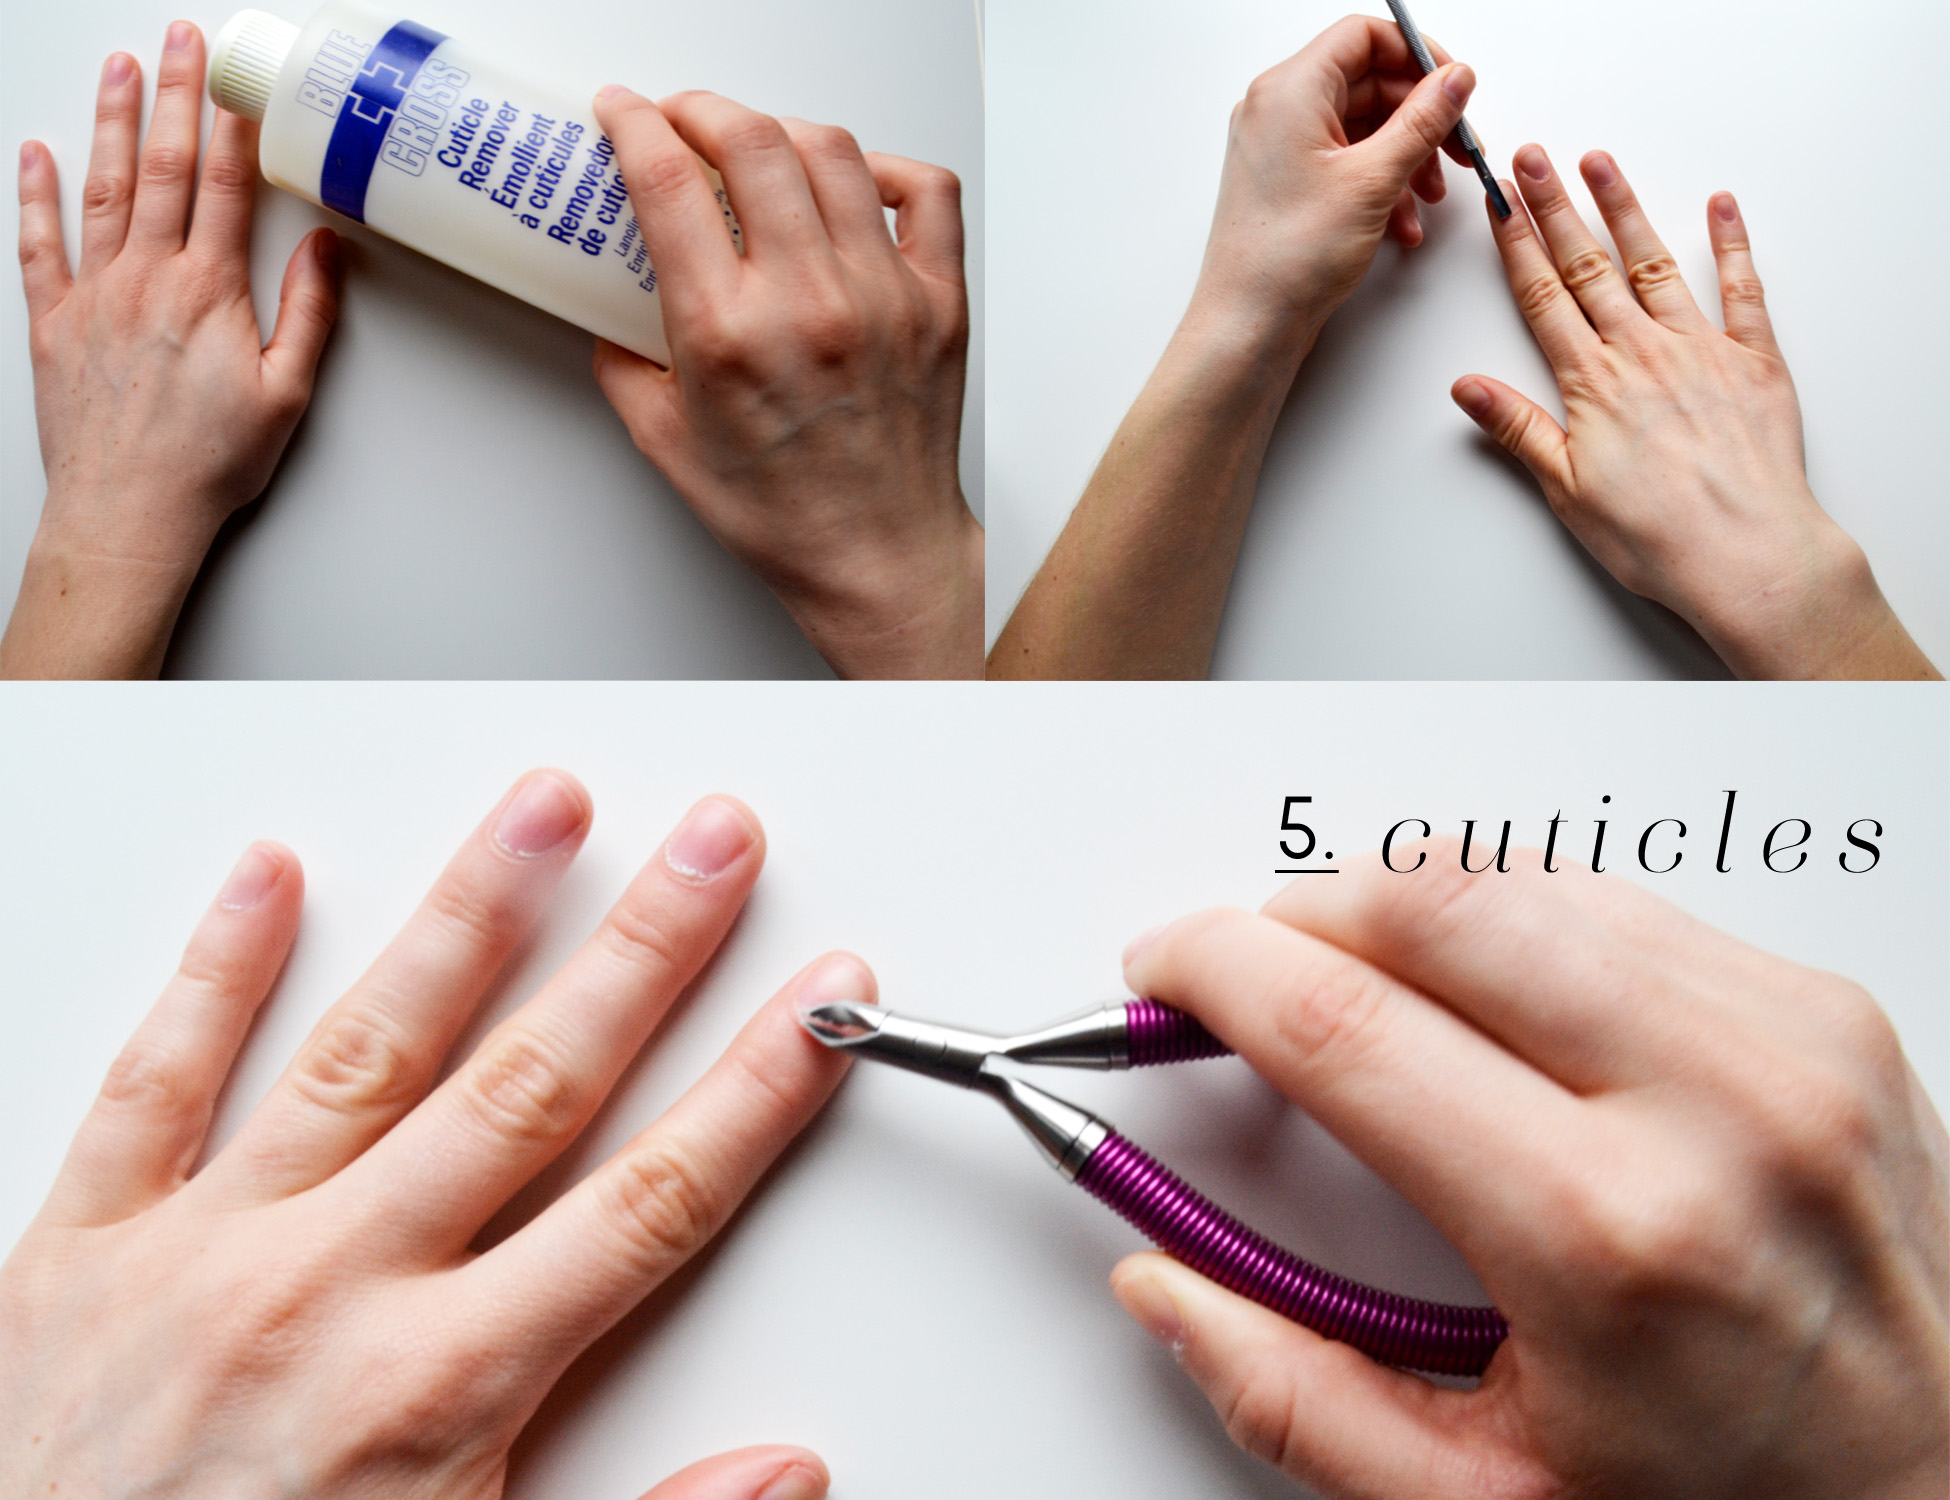
STEP 5: CUTICLES
Pour some cuticle softener on your cuticles and rub it in. Let it sit for a few minutes to let cuticles soften even more and then push back. Trim any excess skin with a cuticle nipper, but be careful. Bloody cuticles are much worse than grown out cuticles ;)
*If you’re not handy with a cuticle nipper, I suggest skipping this step.
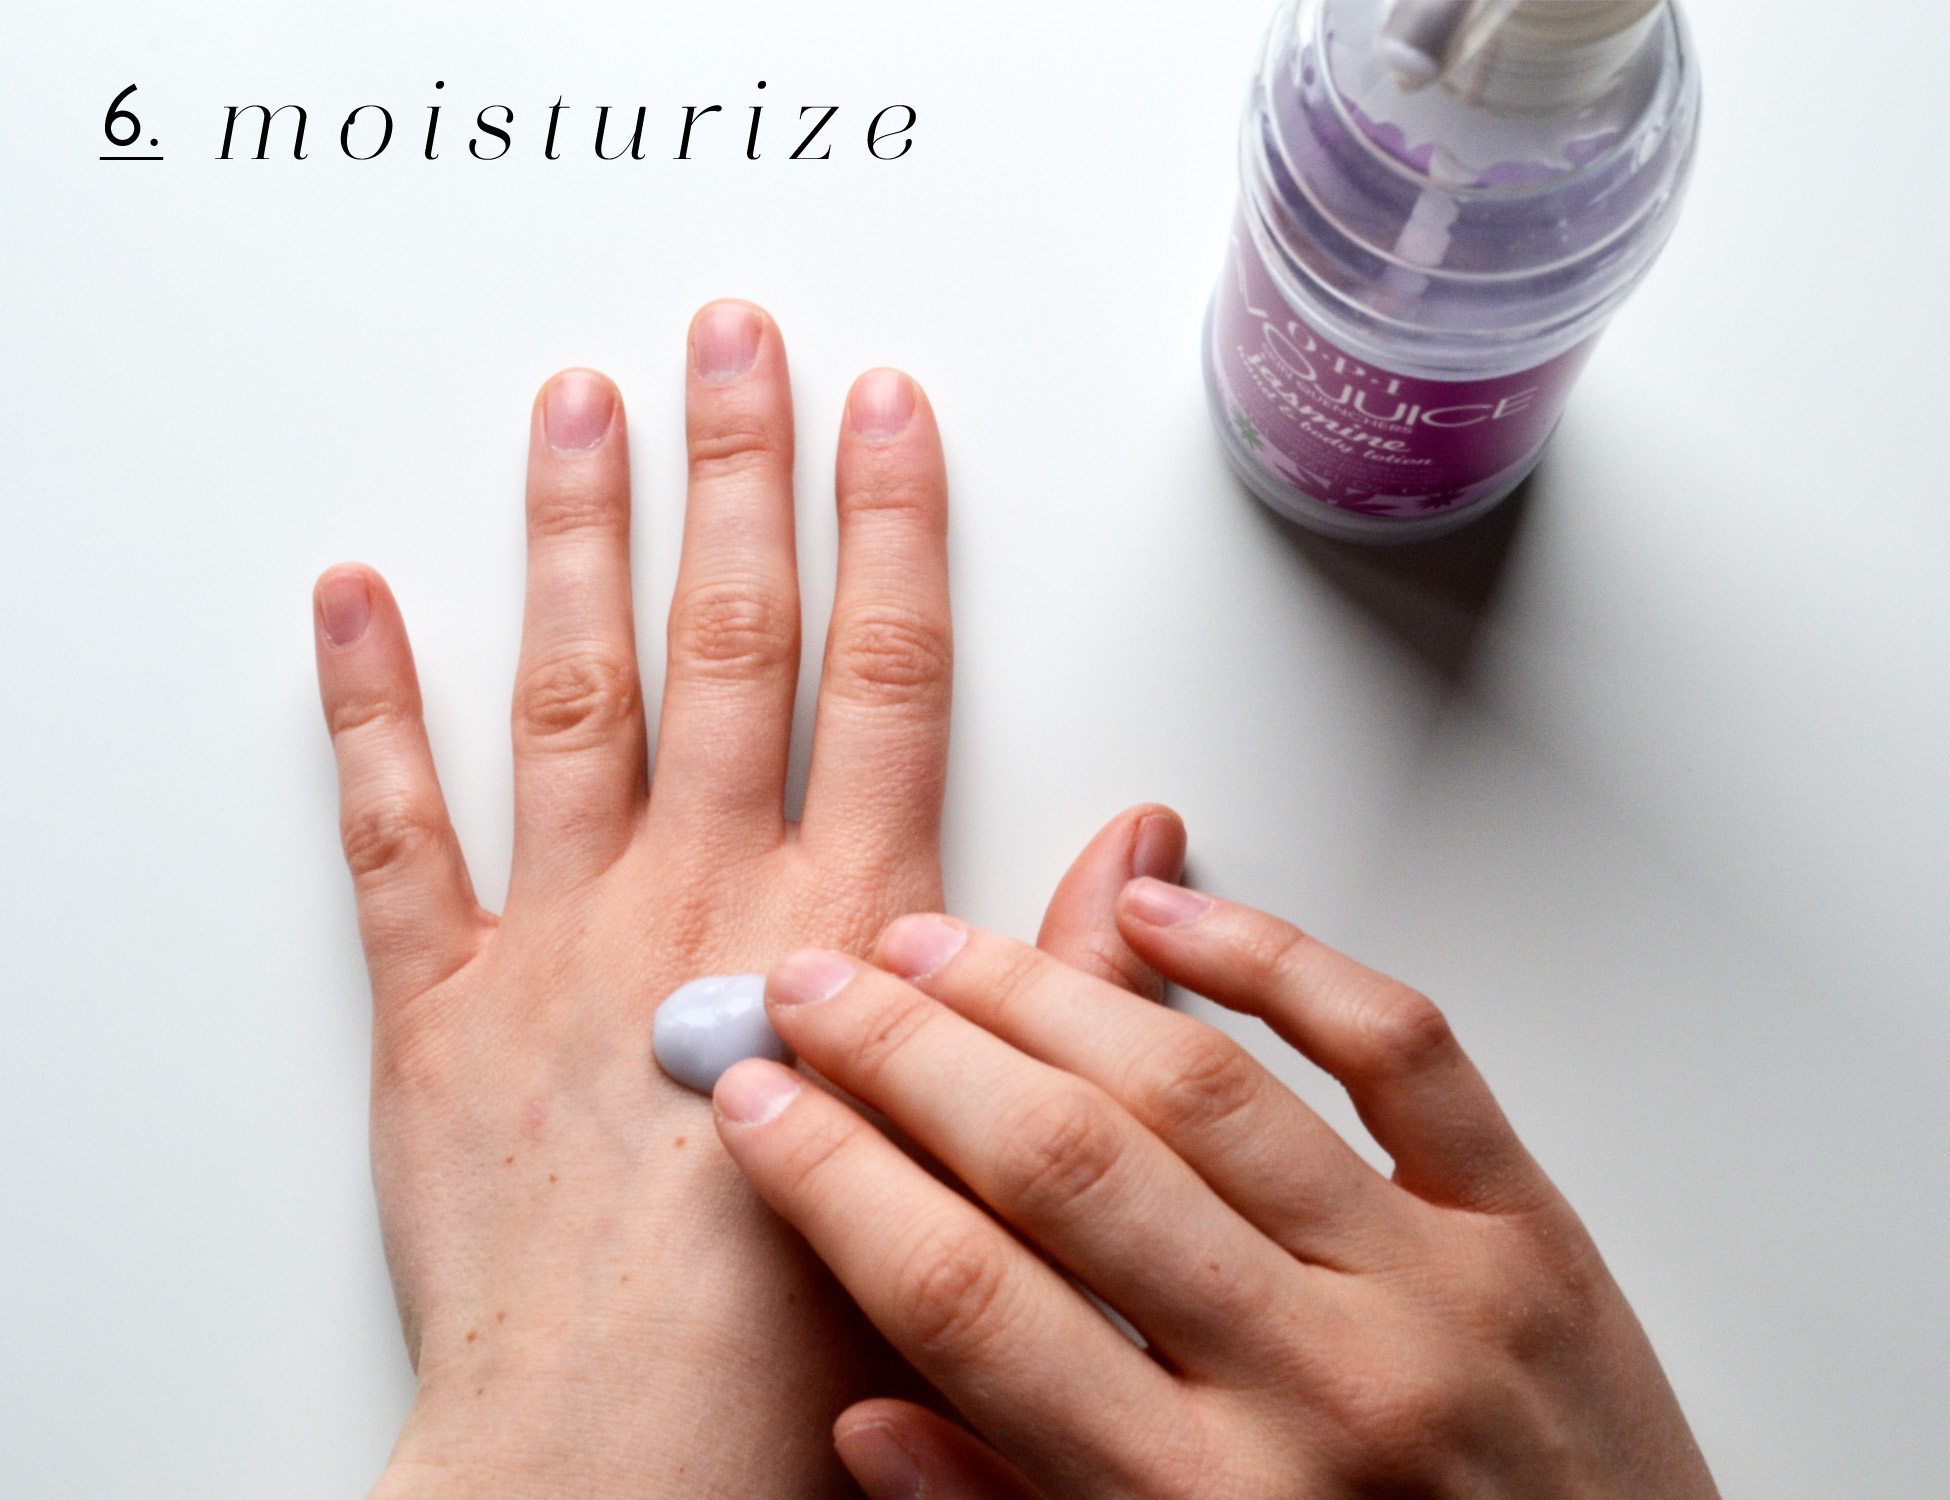
STEP 6: MOISTURIZE
The fun part. Give yourself a hand/arm massage and really moisturize your cuticles and hands. I like to use this lotion by OPI – it smells great and keeps my hands hydrated for hours.
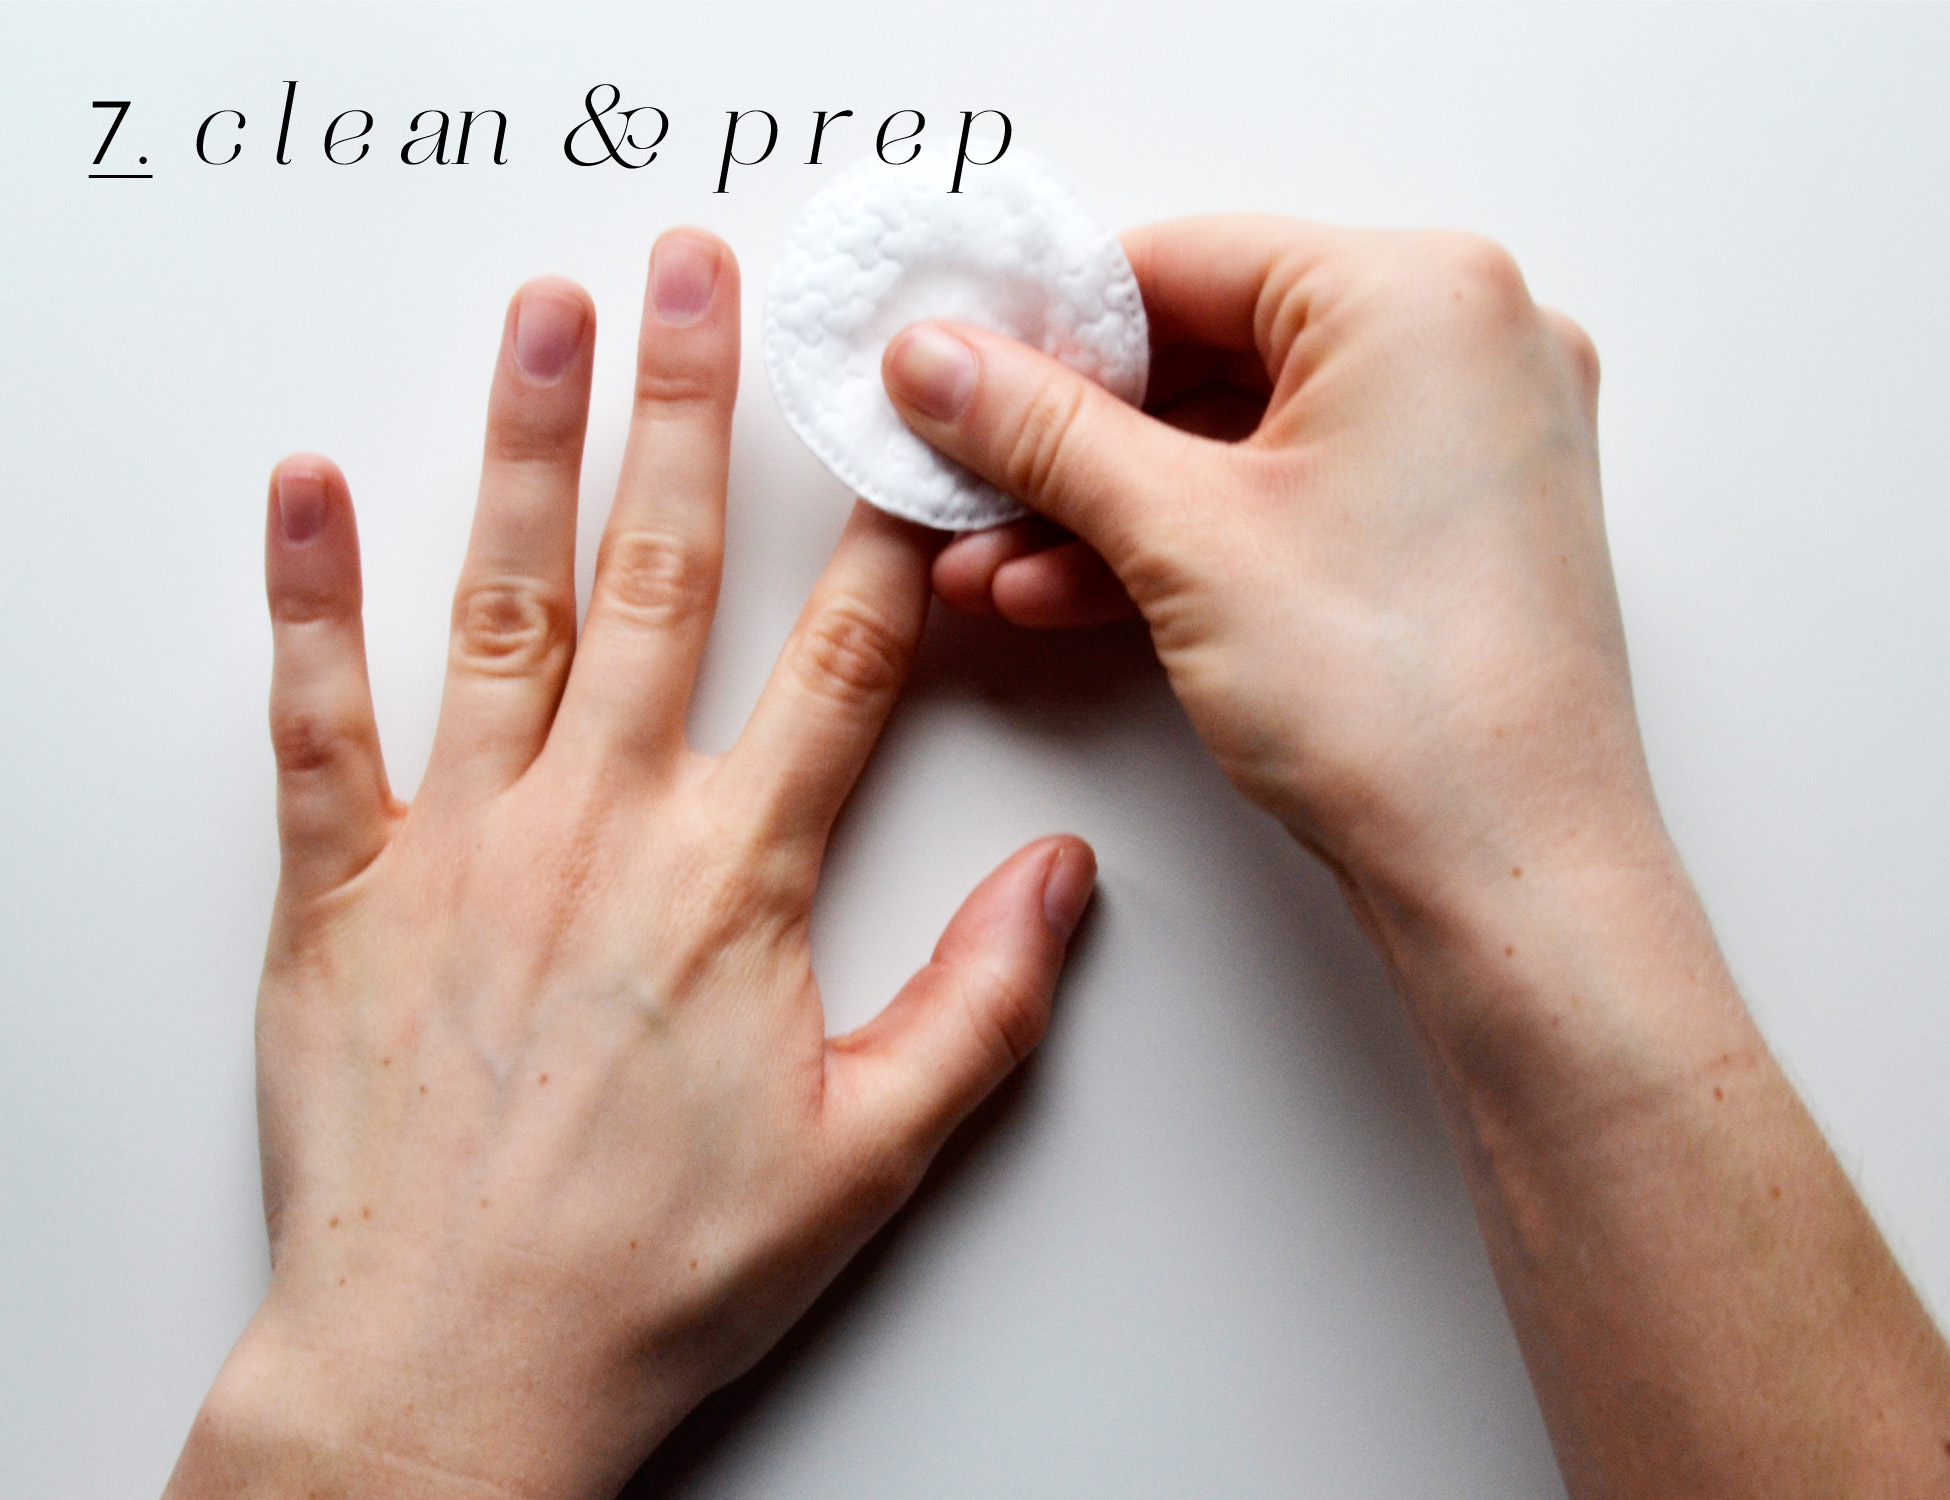
STEP 7: CLEAN & PREP
Use acetone and a cotton ball to lightly clean nails. This will prep them for the polish!
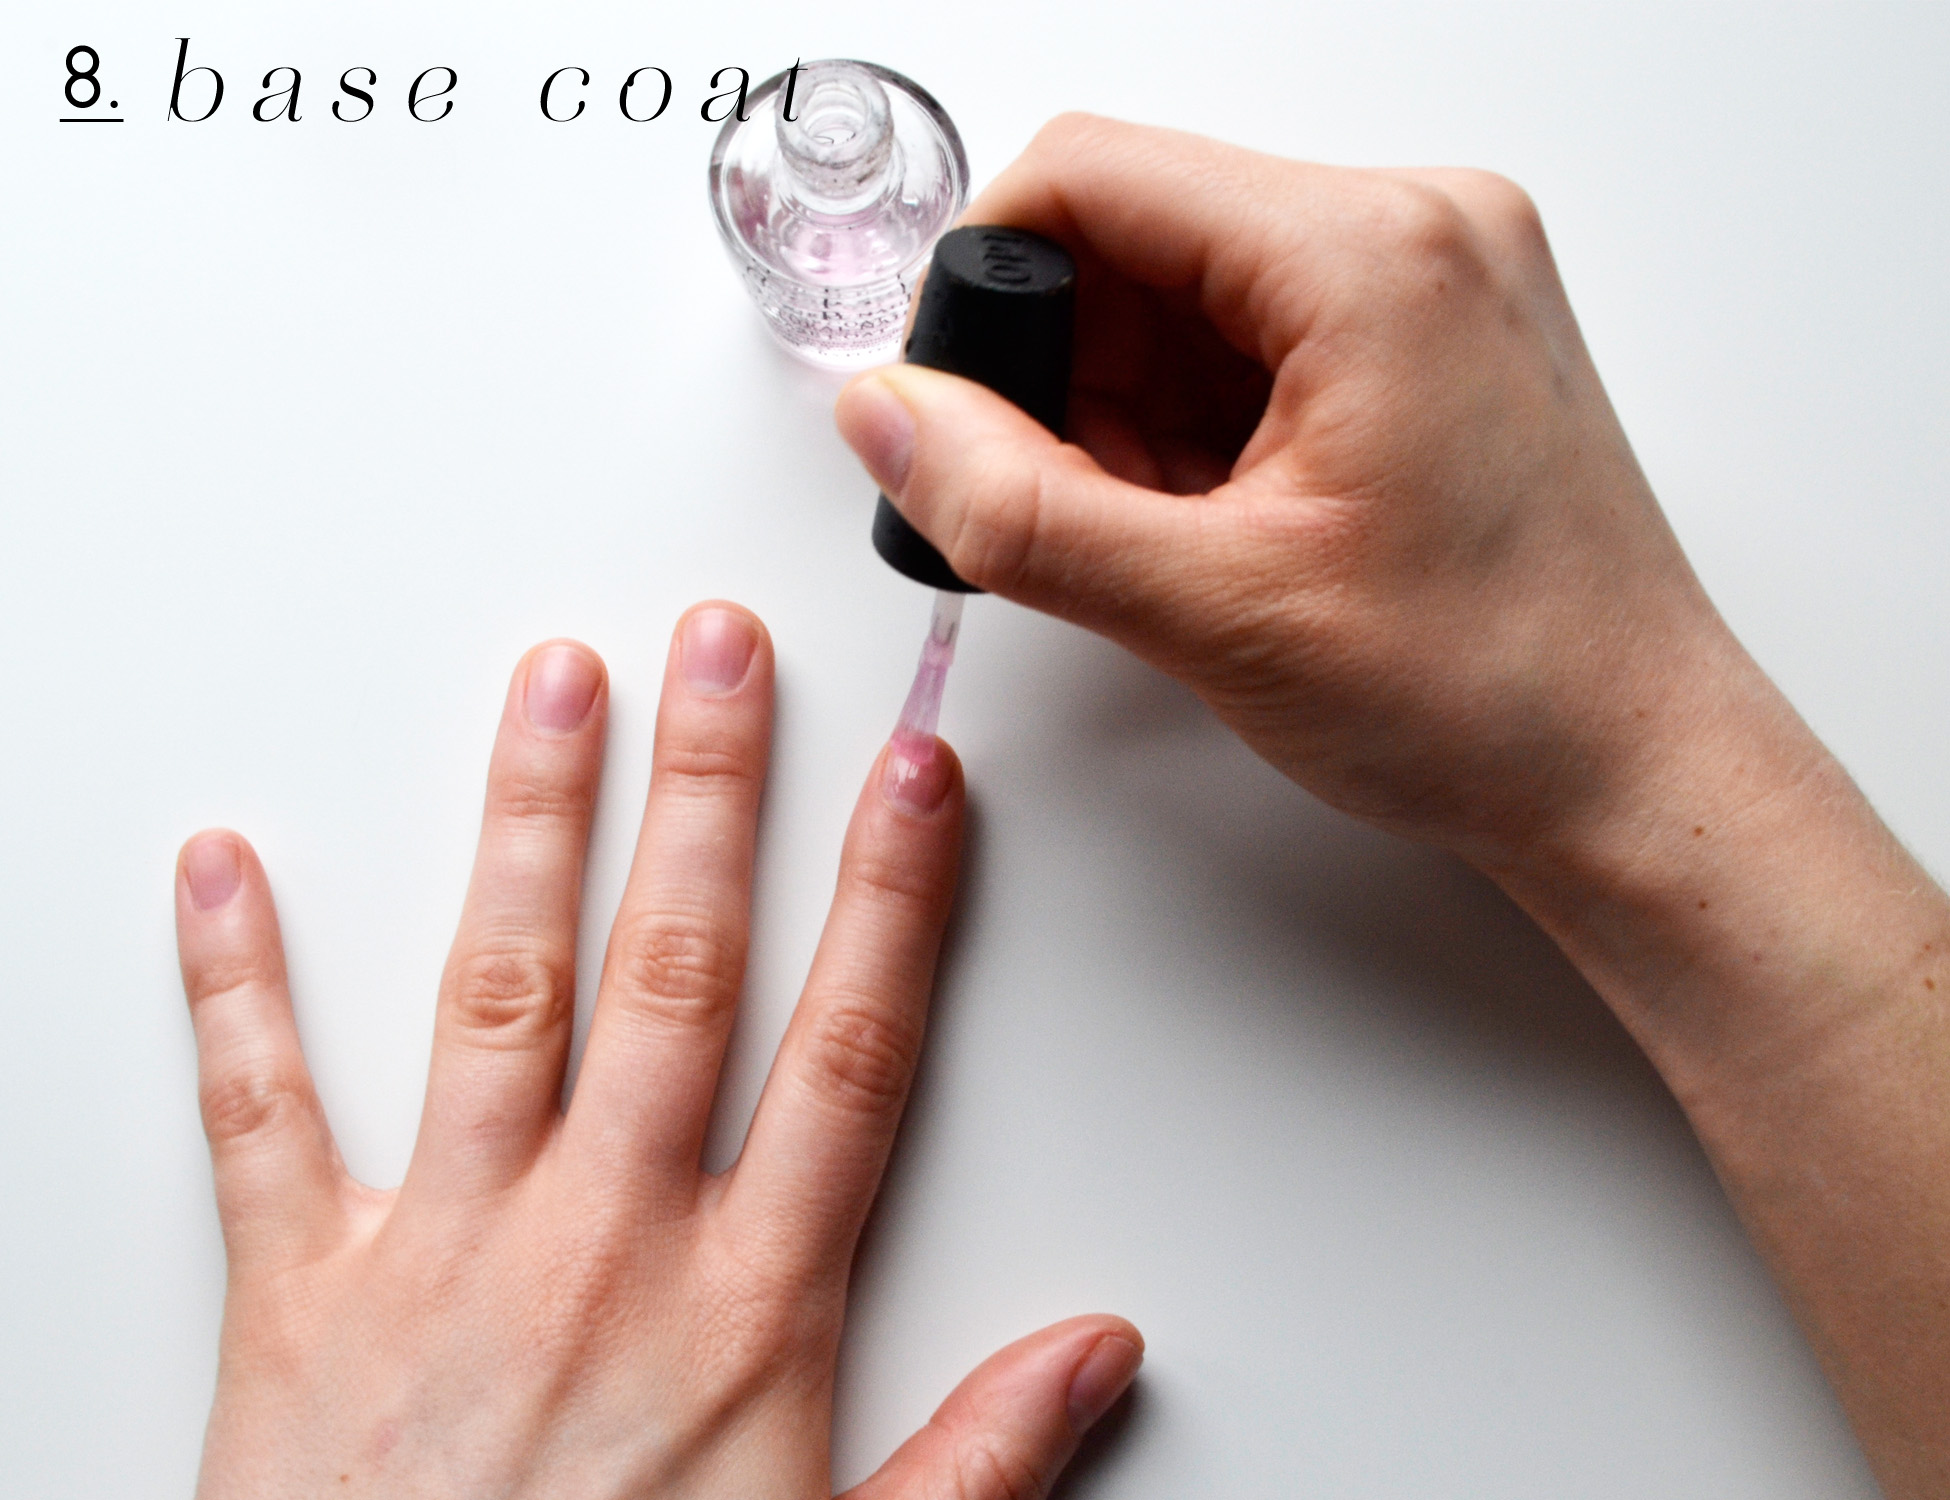
STEP 8: BASE COAT
Evenly apply a thin layer of base coat to each hand.
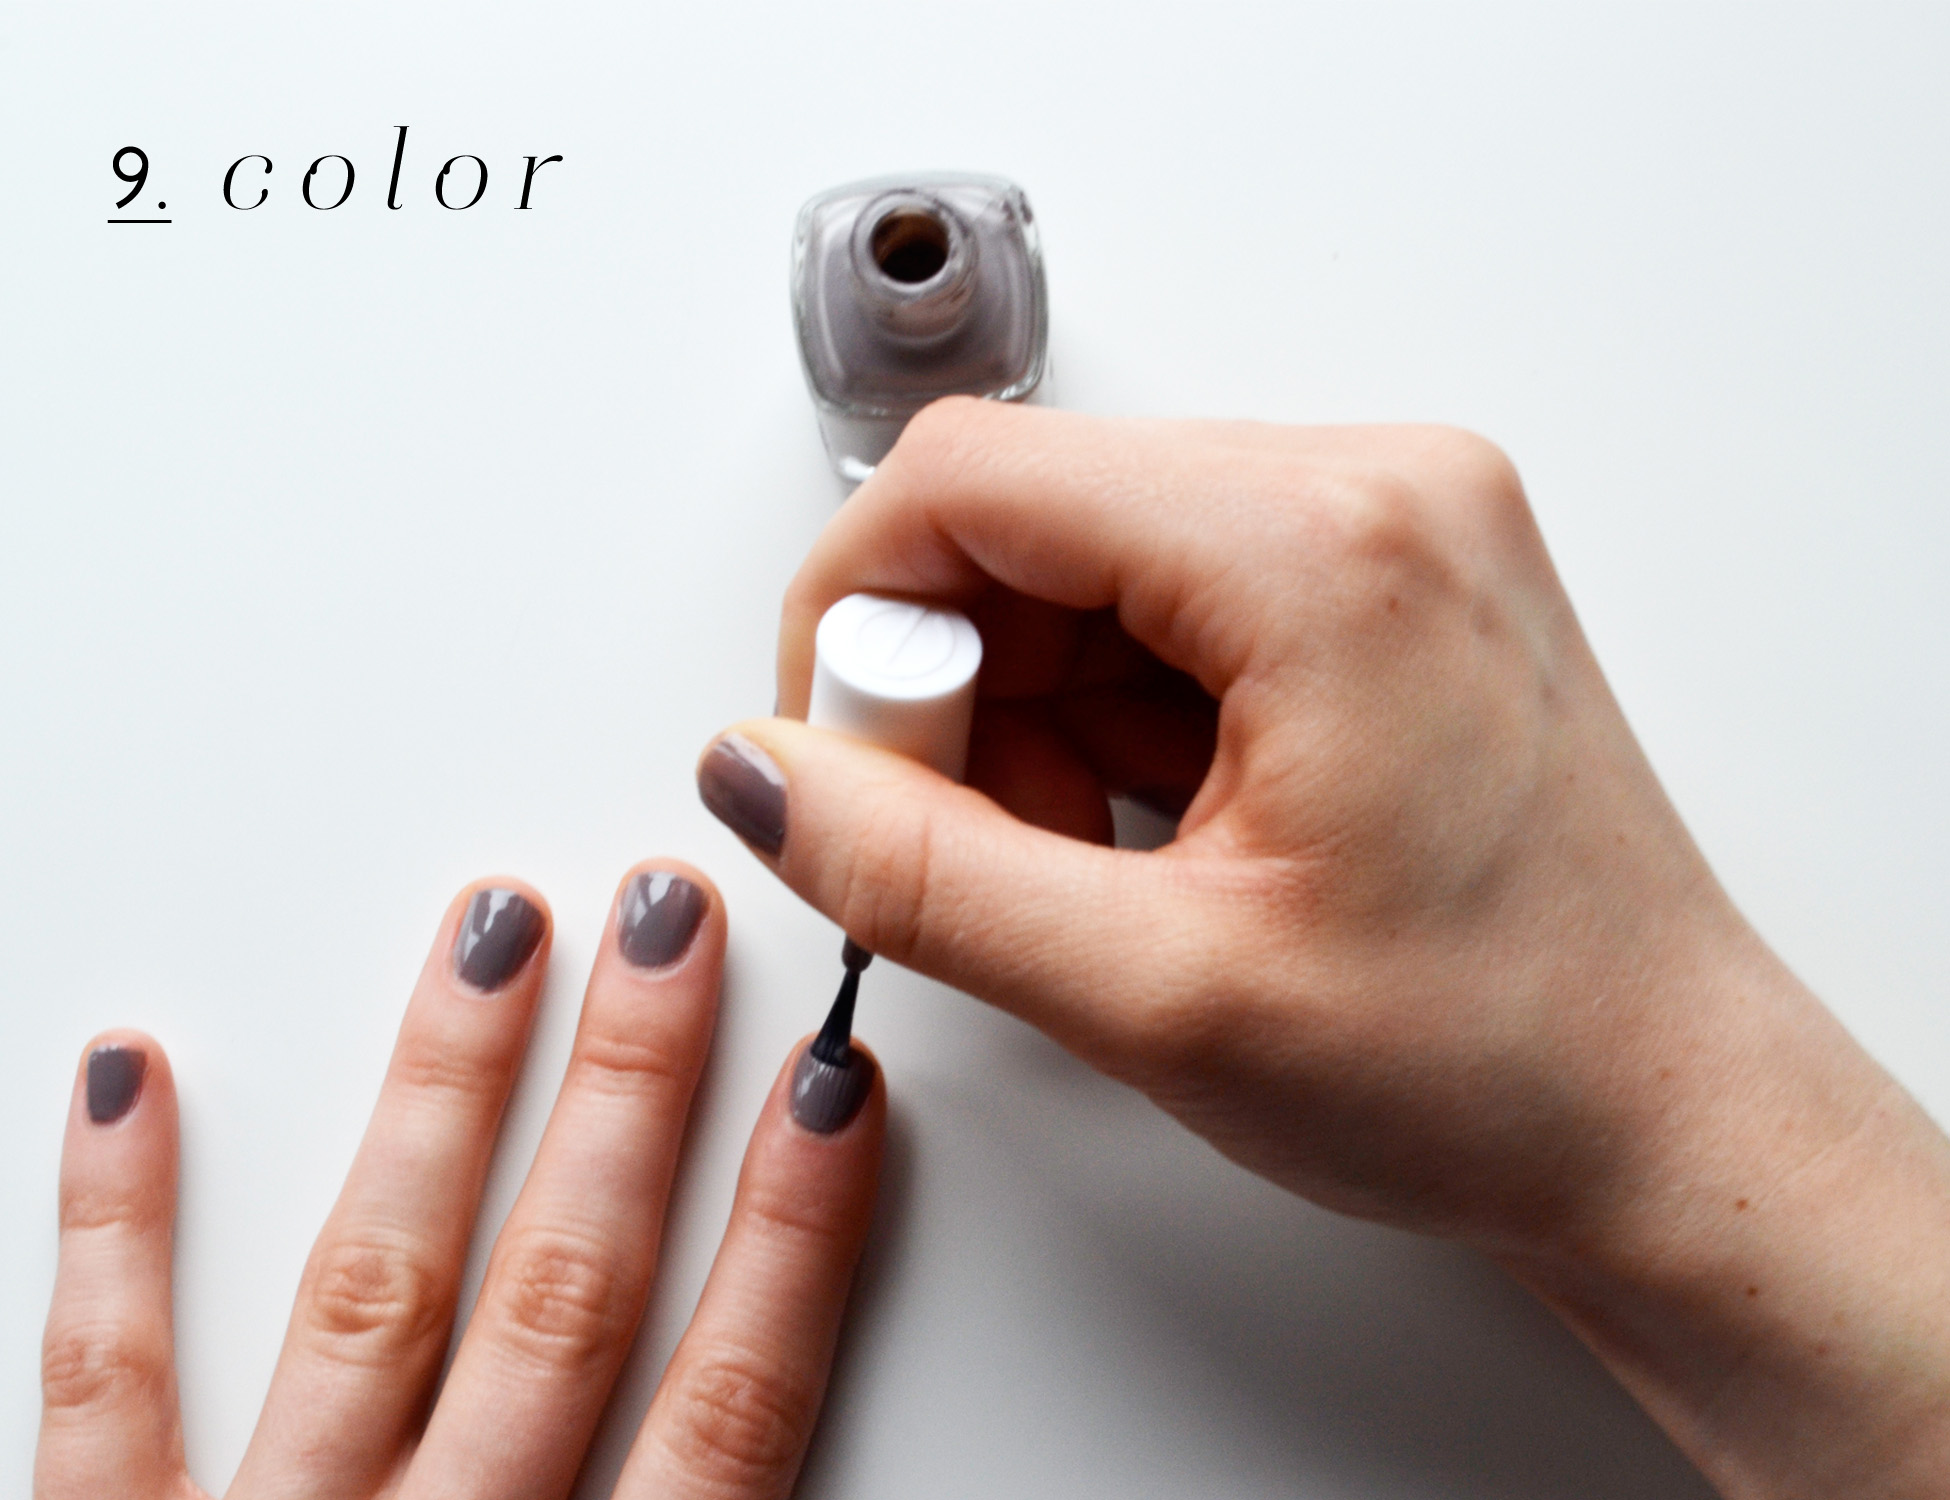
STEP 9: COLOR
Since spring is here, go with a fun color! I’m loving pastels, pinks, and neutrals this year (Here, I used Essie’s Chinchilly). Apply a thin layer of color and then let air dry for a few minutes. After the first coat has dried, apply the second coat!
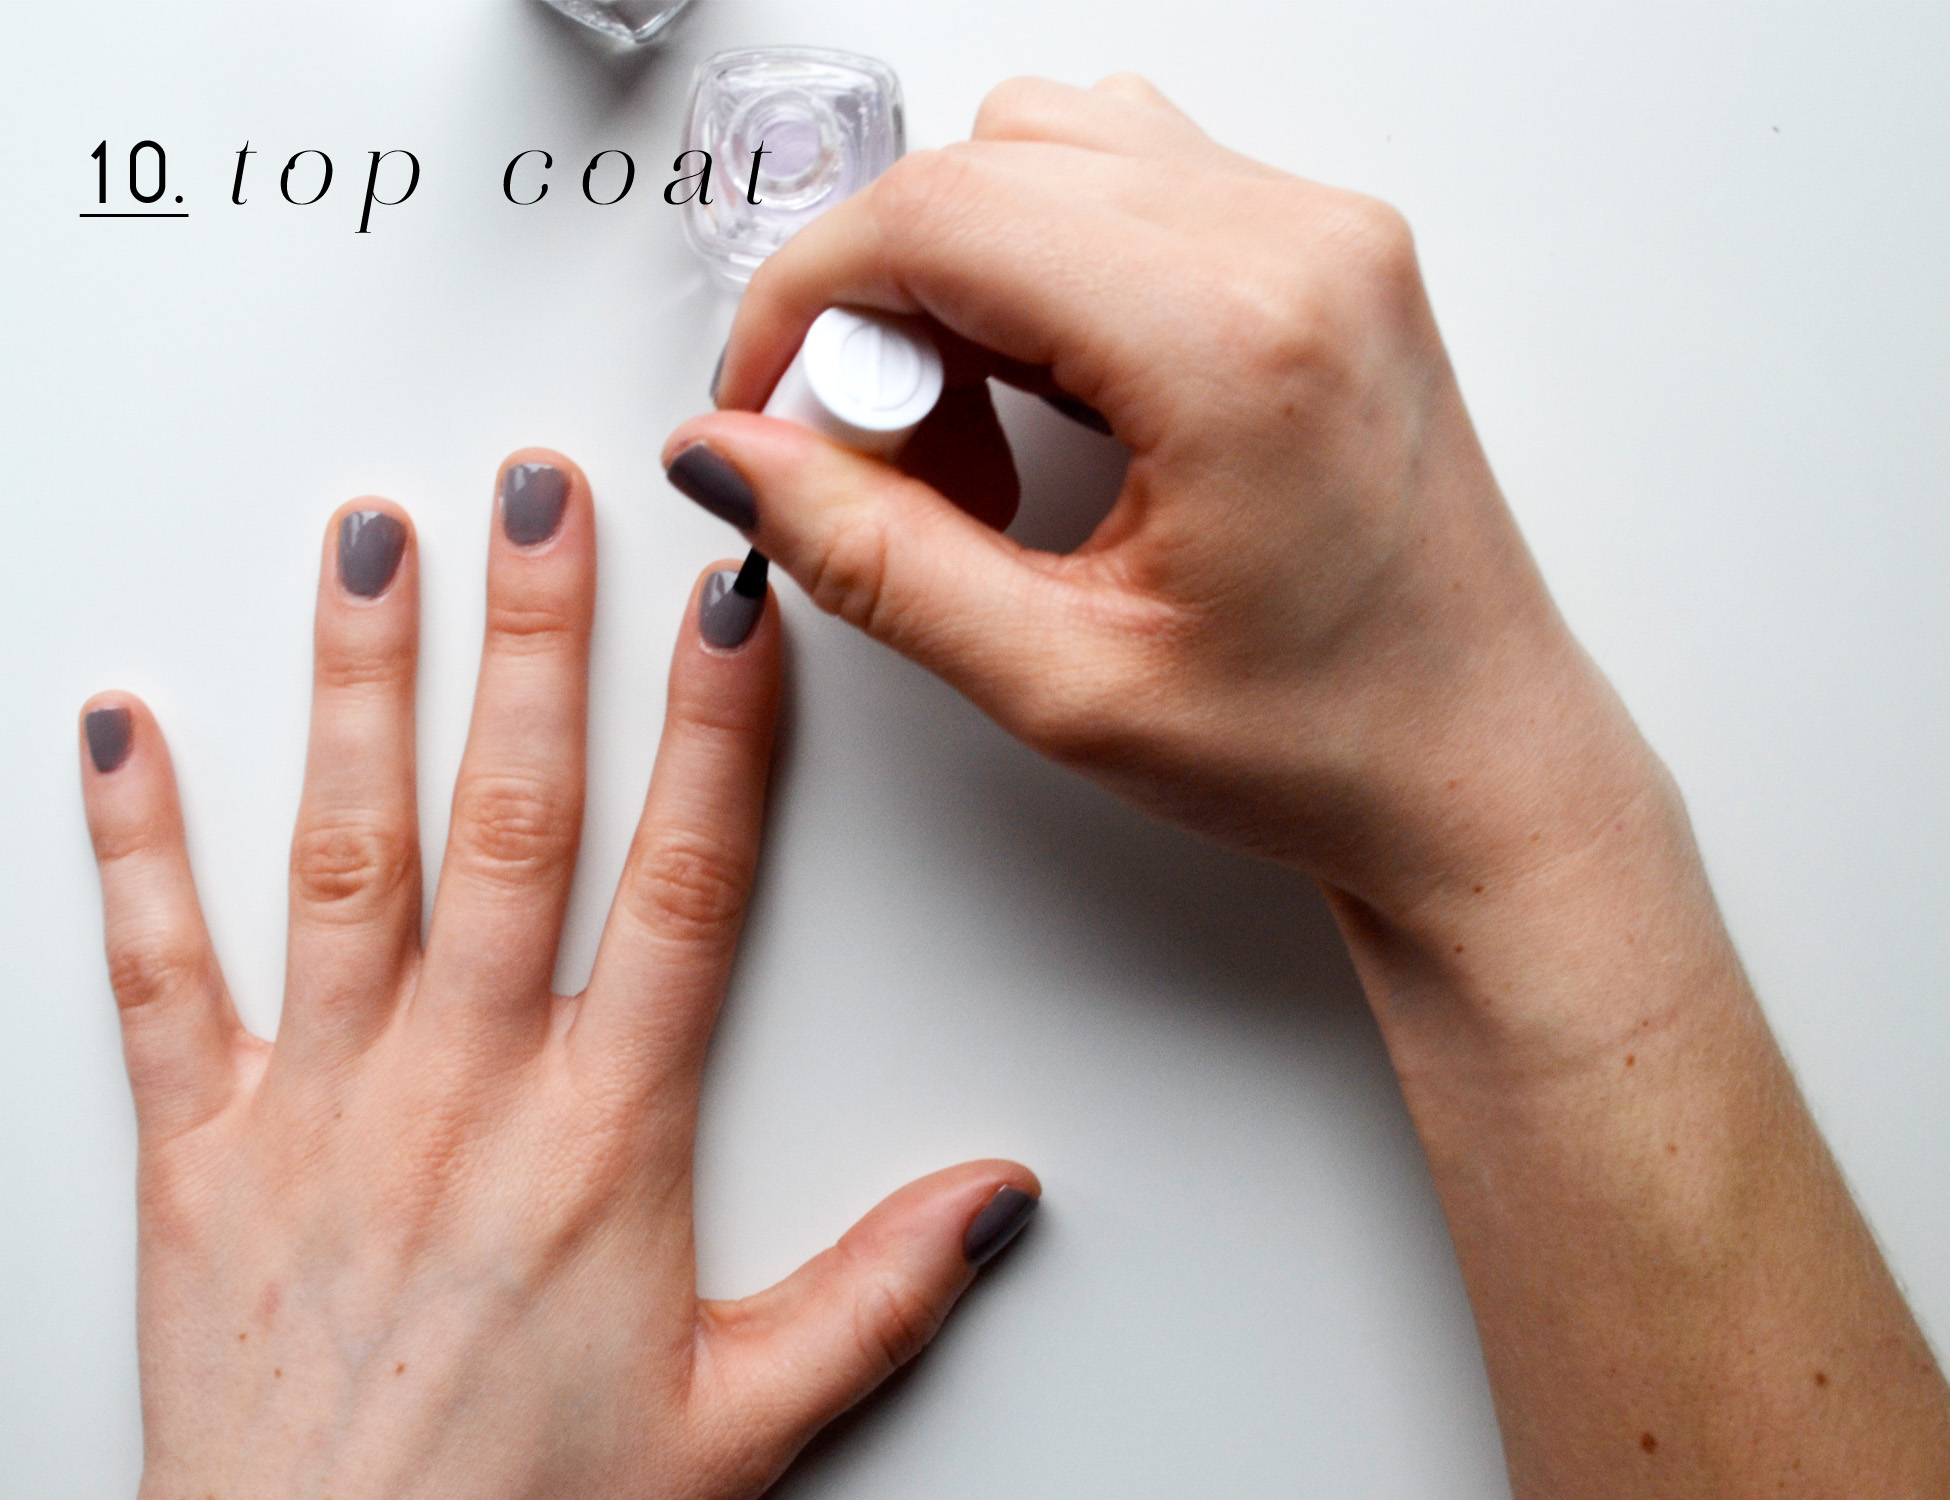
STEP 10: TOP COAT
Top coat can be tricky. I find that SO many brands cause bubbles (i.e. ruin all of the hard work you just did). But I have been using Essie’s Good to Go for 4 years and I swear by it. Not only does it dry fast, but it never fails to give me a smooth, shiny, and flawless manicure every time.
CHEAT SHEET